


Benefits of Clear Projector Screen Paint
High Performance Coating
Transparent Projector Screen Paint is a high-performance transparent coating that optimizes projection performance on normal surfaces, such as painted walls, providing an enhanced viewing experience.Space-Saving Design
Transform a previously painted wall into a projector screen while maintaining the existing room design, allowing for a seamless integration of projector screen functionality.Enhanced Performance
Reduces light interference, enhances colour and light reflectivity uniformity, resulting in improved projection performance and a 120" (320cm diagonal) screen or larger if desired.Cost-Effective Solution
Perfect for home theaters, gaming screens, meeting rooms, and classrooms, ensuring accurate image projection and optimal viewing quality in normal to low ambient lighting conditions.Easy Application Process
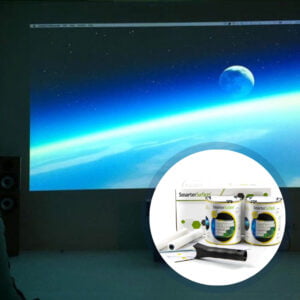
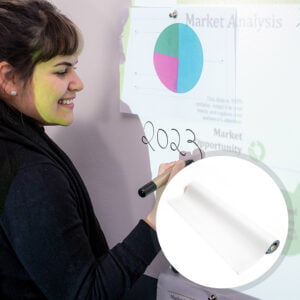
The clear projection screen paint has a two-coat easy to apply system. Simply paint the surface in the desired colour and apply clear coat on top for a unique projector wall.Requirements for Clear Projection Screen Paint
- Projector Requirements: Interactive, HD, 4K, Standard Projectors with adjustable colour tone (Colour mode setting)
- Minimum Recommended Lumen Value: 1,200 Lumens
- Lighting: Brighter rooms with normal to high level ambient light
- Compatible Surfaces: can be applied to fabrics and is suitable for painting or refurbishing old screens, but not suitable for roll-up screens.
Performance
- 4K & 8K Ultra HD Ready
- Gain Value @ 90 °: 1.03
- Viewing Angle: 140 degrees
- Certification: Independent Projection Performance Report – CREST
Comparison Table
Compare the performance and specifications of Smarter Surfaces full projection range
Clear Projection Screen Paint - Technical Specifications
Color: Transparent
Finish: Matt
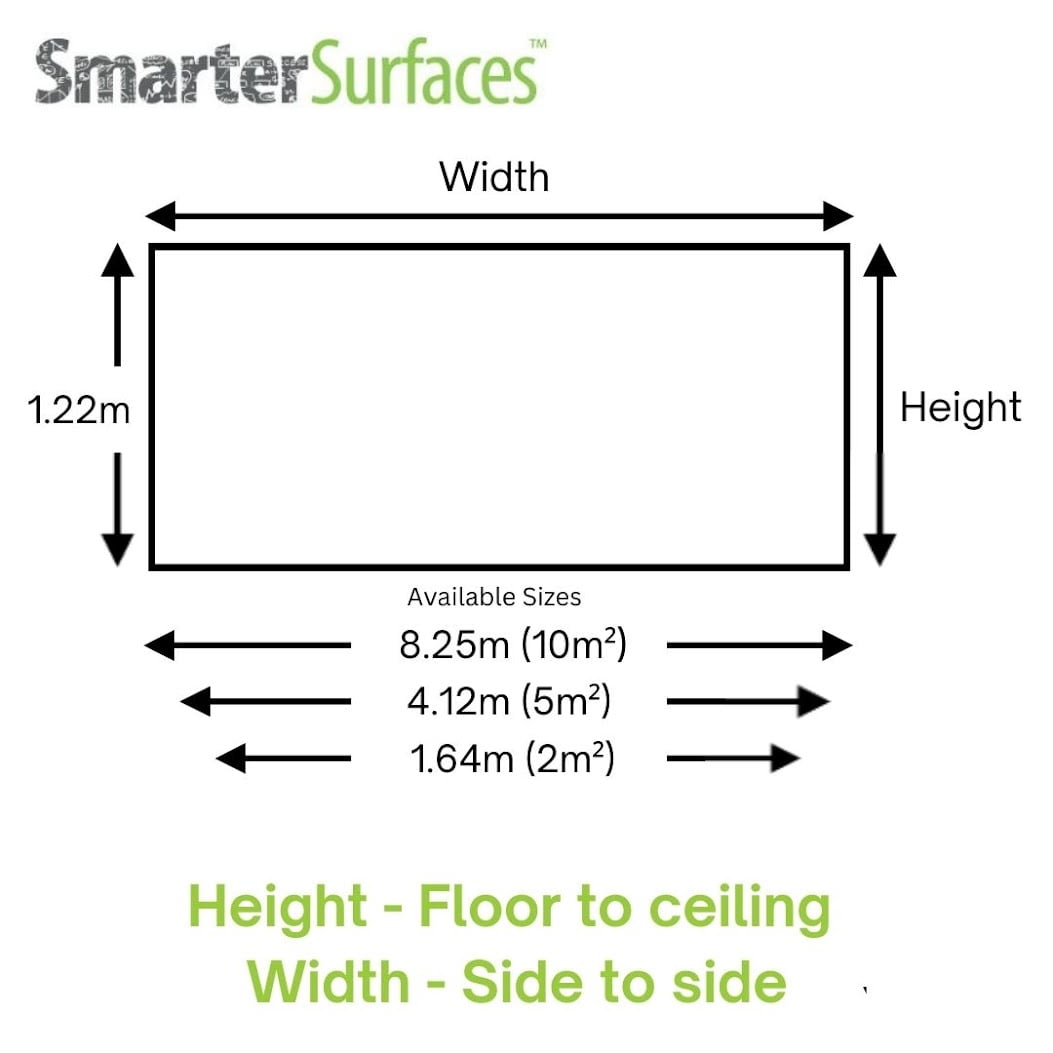
Screen Size / Coverage:
- 4.5 m2: 120" / 320cm / 279 x 157 cm at 16:9 Aspect Ratio
- 25 m2: 301" / 764.5cm / 667 x 375 cm at 16:9 Aspect Ratio
Volume:
- 4.5 m2 : 880ML
- 25 m2 : 5L
Environmental friendly (exceeds all UK standards): low VOC, solvent free, PFOA & PFOS free and isocyanates free
Odour: Very Low
VOC: Less than 0.79%
Certification: Independent Projection Performance Report – CREST, Gypsum Surface Finish Quality Standard of UK Level Q4
Need assistance in choosing the perfect product? Let’s talk.
We are ready to help you find the ideal product that will fit all your needs. Choose from a video call, live chat, phone conversation, or just simply drop us an email. We are here for you across all platforms.
We offer complimentary expert guidance, giving you personalised product recommendations and ideas to ensure your decision is spot-on. And if the installation process feels like a puzzle, then don't worry. We will walk you through it step by step with our free expert advice and support.
What’s Included in the Kit?
Kit Contents 4.5m2 / 48 ft2
- Clear Projector Screen Paint
- Roller Handle
- Roller Sleeve
- Stirring Stick
- Application Guide
Kit Contents 25m2 / 270 ft2
- Clear Projector Screen Paint
- Application Guide
Transparent Projector Screen Paint Reviews
Rick A - Rickson Design Interiors LLC
Trevor Martin - Stoke on Trent
Thomas Rakton - San Francisco
Explore More Products From Smarter Surfaces

 (0 Reviews)
Black Projector Screen Paint – Superior Contrast Projection
From £180.00 ex.VAT Select options This product has multiple variants. The options may be chosen on the product page- (0 Reviews)
High Contrast Projector Screen Paint for Stunning Displays
From £180.00 ex.VAT Select options This product has multiple variants. The options may be chosen on the product page - (0 Reviews)
Ambient Light Rejecting Projector Screen Paint
From £171.00 ex.VAT Select options This product has multiple variants. The options may be chosen on the product page  (0 Reviews)
Magnetic Projector Screen Whiteboard Wallpaper – 3 in 1
From £224.00 ex.VAT Select options This product has multiple variants. The options may be chosen on the product page


FAQ's
Setting up your projector is actually a breeze. Just simply aim it towards the painted wall and adjust as required. The transparent projection coating is compatible with most projectors, including interactive projectors, and works brilliantly on a variety of smooth surfaces such as wall boards, plaster, wood, and metal. However, to get the best performance, ensure that your projector’s colour calibration is aligned with the colour of your newly painted wall. This can usually be done by following the guidance in your projector’s owner's manual.
A higher gain means the screen reflects more light, making the image appear brighter. However, this actually comes at a cost. The higher gain screens often narrow the viewing angle, meaning you’ll need to sit more directly in front of the screen for the best results.
On the flip side, a lower gain offers a wider viewing angle, making it suitable for larger audiences but at the expense of a dimmer image. The ideal gain value depends on a few factors, like the lighting conditions and the size of your screen.
Whether you are creating a large-scale visual spectacle or an immersive experience, this paint ensures the images merge effortlessly, keeping your audience captivated.
We take your safety seriously, which is why our paint meets the highest environmental standards and has been independently certified for fire safety and VOC emissions. We recommend wearing the gloves provided in the kit for extra protection while applying, just as with any paint.
Clear Projector Screen Paint Installation Guide
How to Apply Transparent Projector Screen Paint?
Step 1: Prepare Surface - Ensure the surface is clean, dry, and fully cured (allow 48 hours if freshly painted), then mark your desired projection area with masking tape.
Step 2: Apply Clear Projector Paint- Stir the paint thoroughly (do not shake) and apply a thin, even coat. Once the first coat is dry, wait a minimum of approx. 2-4 hours and apply the second coat.
Step 3: Ready To Use - Transparent Projection Screen surface will be touch-dry in less than one hour and usable as a projection surface after 24 hours.
Need Any Additional Help? We have Got You Covered.
If you'd want to test our products' effectiveness, you can request a sample pack.
Have any inquiries or need assistance? We take pride in delivering outstanding customer service and support. Feel free to reach out to us.
![]() A full application guide to help you apply our Clear Projector Screen Paint.
A full application guide to help you apply our Clear Projector Screen Paint.
