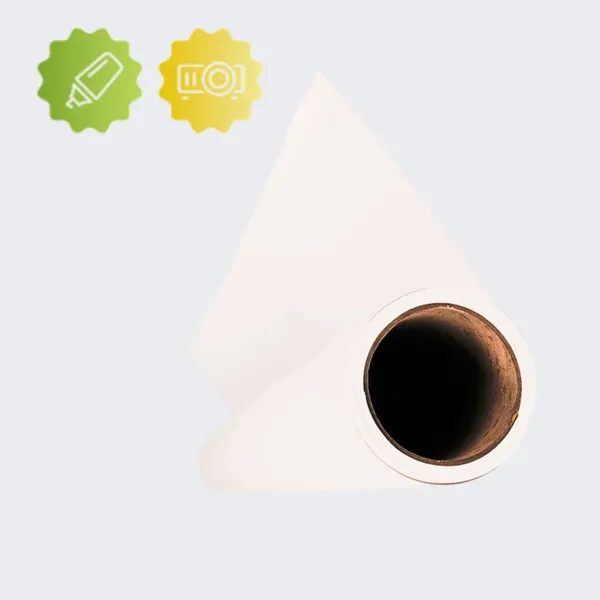
Projector Whiteboard Wallpaper
From £134.00 ex.VAT
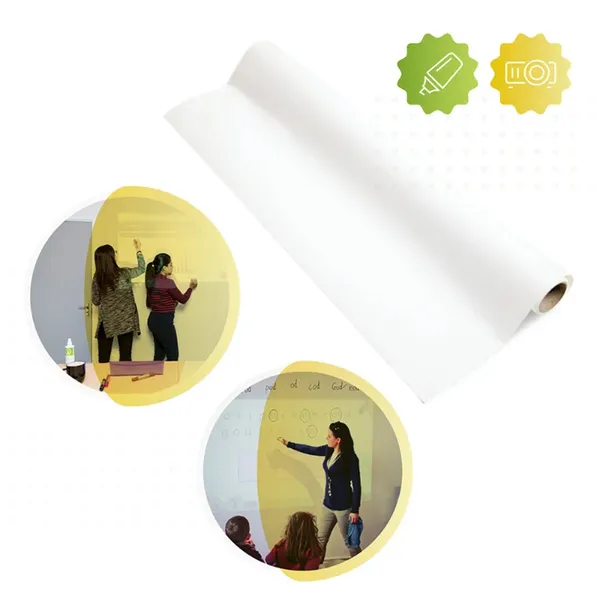
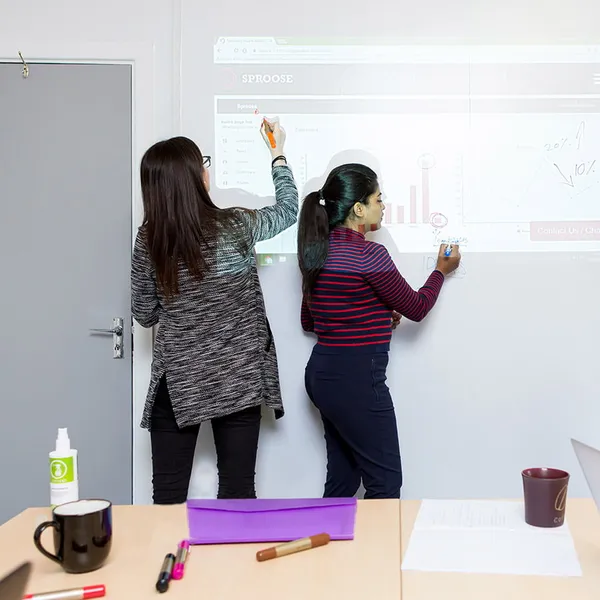
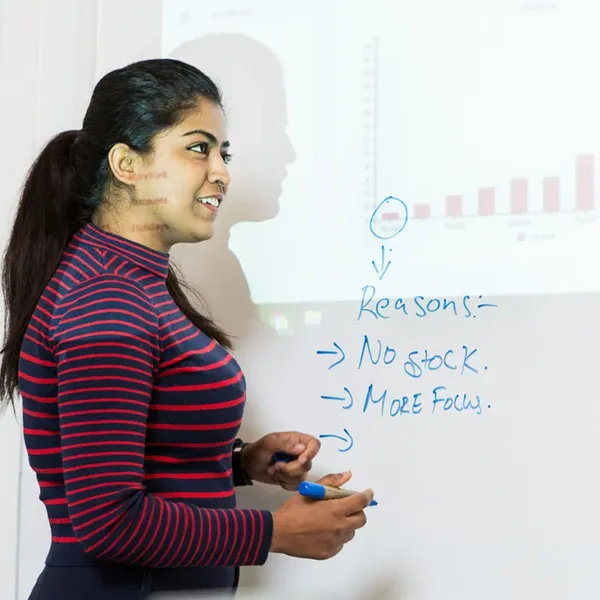
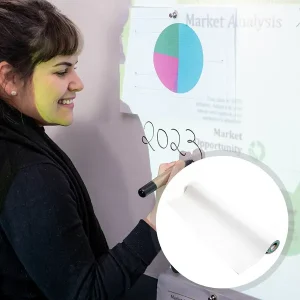
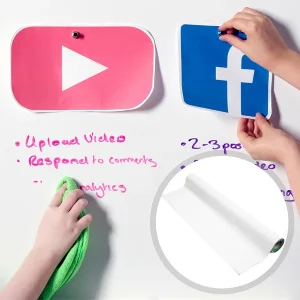
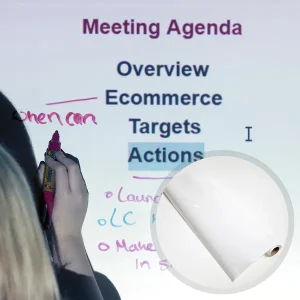
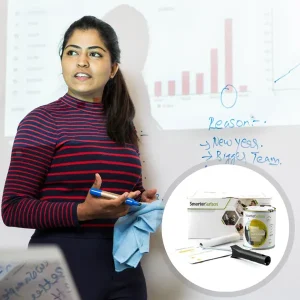
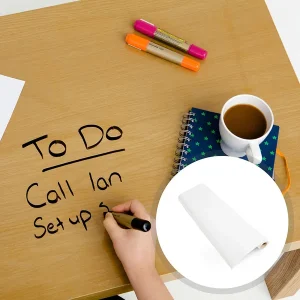
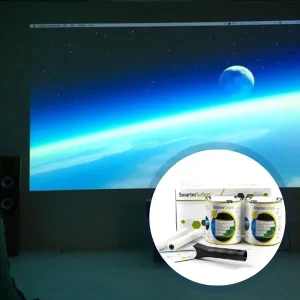
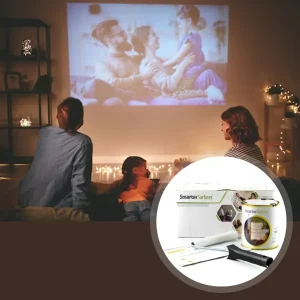
Projector whiteboard wallpaper creates a dual-purpose projection screen with high-quality visuals and dry-erase functionality. Ideal for collaboration and presentations.
10-Year Guarantee
Commercial-Grade
Dual Function
Ready in 24 Hours
- Delivers sharp visuals with a projector screen wallpaper gain of 1.1.
- Low-sheen finish ensures no ghosting, no staining, and reduced glare.
- Mount vertically, horizontally, or on curved surfaces.
- VOC-free, solvent-free, PFOA/PFOS-free, and isocyanate-free.
- Suitable for walls, plaster, concrete, wood, metal, doors or smooth surfaces.
Secured Transaction

Easy Returns
Free Shipping above £80.00
Buy now, pay later with Stripe
If you are looking for this, you might also need…
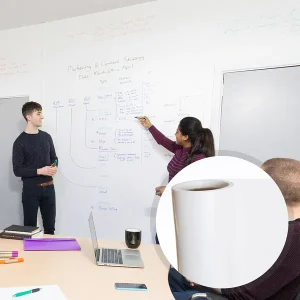
Why Choose Projector Whiteboard Wallpaper
Designed for spaces needing clear projection and a writable surface without separate boards or screens.

Dual Function
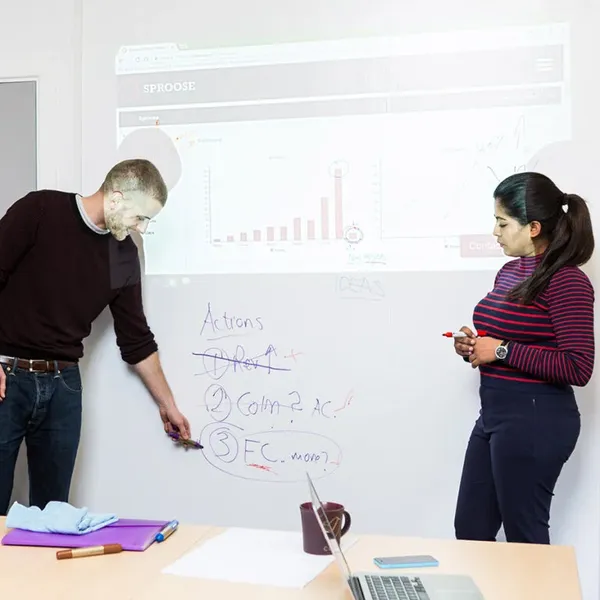
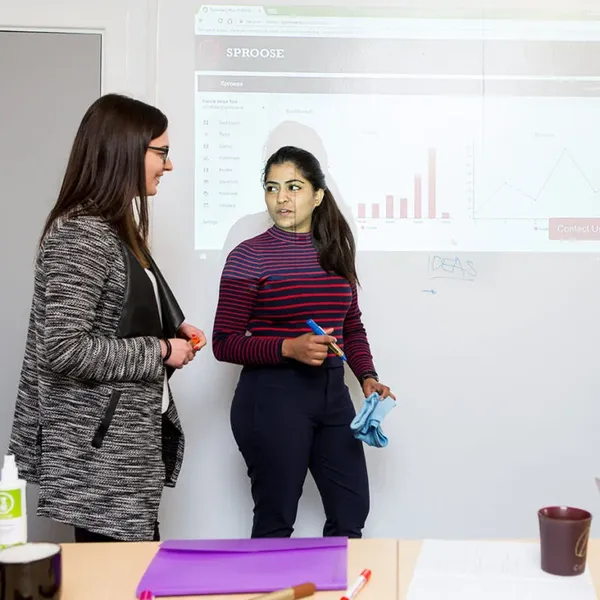
Turn a smooth surface into a writable and projection area for smooth collaboration.

Enhances Productivity
Present and write on the same surface to improve engagement.

Supports Collaboration
Create interactive spaces by combining projection & writing in one efficient solution.

Performs in Ambient Light
Low-sheen finish reduces glare, ensuring clear visibility with a non-ghosting surface.

Environmentally Friendly
VOC-free, solvent-free, and safe for indoor use in occupied environments.
Technical Specifications
Product Colour
White (RAL: 9016)
Product Finish
Low Sheen
Odour
None
Gloss Measurement
41 GU at 60 degrees
Gain Value
1.1 at a viewing angle of 120 degrees
Material Thickness
0.30mm
Lighting
Normal ambient lighting
Performance
Dry Erase & projection with bright, sharp projection performance
Compatible with all projectors
Standard, interactive, 3D, and 4K models.
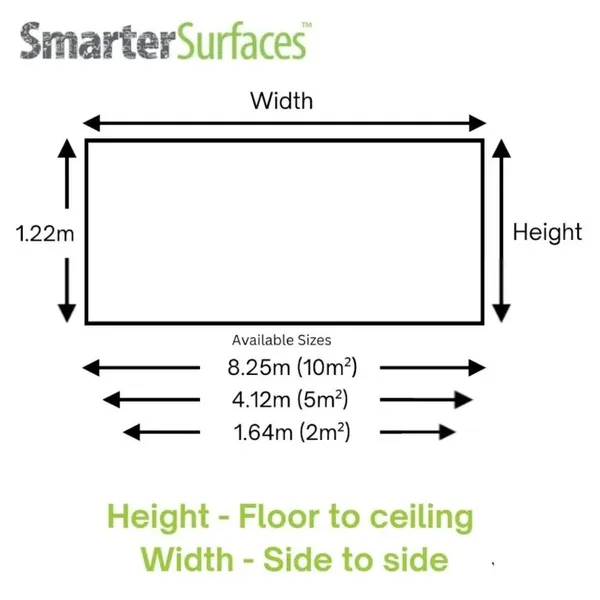
Coverage / Dimensions :
- 10m² / 1.22m x 8.25m
- 5m² / 1.22m x 4.12m
- 2m² / 1.22m x 1.64m

10m² & 5m²
- 1 x Dry Erase Projection Wallcovering
- 1 x Surface Sticker
- 1 x Application Guide
- 1 x Wallpaper Spatula
- 1 x Pair of gloves
- 1 x Microfibre Eraser
2m²
- 1 x Dry Erase Wallpaper
- 1 x Microfibre Eraser Cloth
- 2 x Adhesive Tubes
- 1 x Application Guide

Certification
Independently fire-certified for commercial interiors with an approved Class A fire rating.
Environmental
Exceeds UK standards: VOC-free, solvent-free, PFOA/PFOS-free, and isocyanate-free for safe indoor use.

Orders placed before 12:30 pm GMT (Monday-Friday) are processed the same working day. Orders placed after this time or over the weekend will be processed on the next working day. We work with trusted third-party courier partners for delivery. Delivery times are estimates only and not guaranteed.
Estimated Delivery (Working Days):
UK:
- Next Day Delivery: Available for orders placed before 12:30 pm
- Free Shipping (orders over £80): 2-3 working days
- See delivery times for other locations
Use Cases

Offices
- Meeting rooms
- Boardrooms
- Break-out areas
- Open-plan offices

Education
- Classrooms
- Lecture halls
- Libraries
- Staff rooms

Commercial
- Retail displays
- Hospitality menus
- Showrooms
- Exhibition spaces

Home
- Home offices
- Living rooms
- Study rooms
- Playrooms
Not sure if Projector Whiteboard Wallpaper is right for you?
Get expert advice before you buy.
Turn your wall into a projection whiteboard surface with ease. Smarter Surfaces experts will help you choose the right projector screen wallpaper based on your space, lighting conditions, and projector type.
How to Apply Projector Whiteboard Wallpaper
Follow these simple steps to install your projector whiteboard wallpaper.

Step 1 - Surface Preparation
Ensure the surface is clean and free from dust. Fill cracks & sand for an even finish.

Step 2 - Prime if Required
Prime only absorbent or untreated surfaces to improve adhesion.

Step 3 - Apply Adhesive
Apply two coats of adhesive, allowing the first coat to fully dry before the second.

Step 4 - Install Wallpaper
Install and use a spatula to remove air bubbles and ensure a smooth finish.
Step 5 - Cure
Wipe clean with a damp cloth to remove residual adhesive. Allow 48 hours before use.
Watch Our Step-by-Step Video Application Guide
Suitable Surfaces
Transform any smooth surfaces into collaborative spaces
Walls & Wallboards
Concrete & Plaster
Wood & Furniture
Metal & Smooth Surfaces
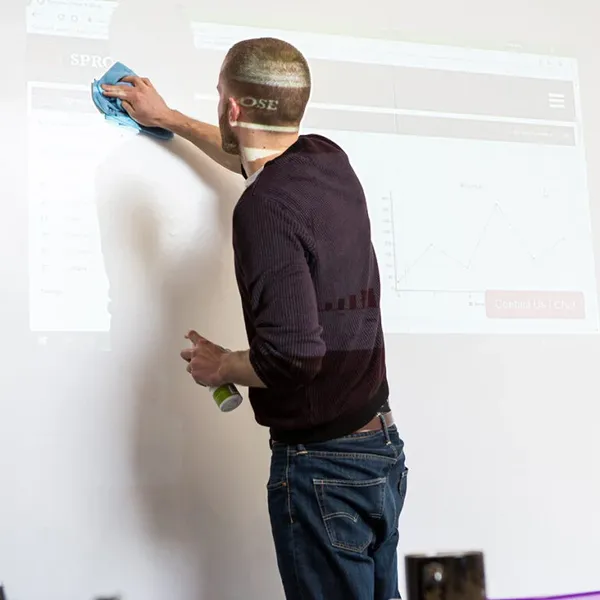
See the Transformation
View real before-and-after examples of projector whiteboard wallpaper.


Customer Testimonials
See how offices, schools, and commercial spaces use projection whiteboard wallpaper to transform walls into interactive projection and writing surfaces.
Case Studies
Explore how spaces transform using the best whiteboard paint for walls into collaborative environments.


FAQ's
General Product Questions
Can Projection Whiteboard Wallpaper be used to create a whiteboard surface?
Yes, projection whiteboard wallpaper is a dual-function wallpaper and is used as a whiteboard surface and a projection surface.
What types of projectors are compatible with Projection Whiteboard Wallpaper?
Projector Whiteboard Wallpaper is compatible with most projectors, including ultra-short-throw projectors.
Can you apply projection whiteboard wallpaper on top of magnetic plaster?
Yes, projection whiteboard wallpaper can be applied on top of magnetic plaster.
Application & Usage
Can Projection Whiteboard Wallpaper be installed on all types of surfaces?
Our projection whiteboard wallpaper is designed to be applied to smooth surfaces. They can also be applied to curved walls. Ensure all debris and previous wallpapers have been removed. Absorbent surfaces should be treated with a primer before application.
Surface Prep & Priming
Is it necessary to prime the surface before applying Whiteboard Projection Wallpaper?
Priming is required only for absorbent surfaces to ensure proper application and adhesion of the Whiteboard Projection Wallpaper. If it's previously painted, then no primer is required.
Cleaning & Maintenance
Can alcohol be used to clean the Projector Whiteboard Wallpaper?
Cleaning with alcohol may damage the surface and reduce its performance. Use Smarter Surfaces cleaning solutions, which are designed for all types of whiteboards and help maintain surface quality.
Can permanent markers be used on Projector Whiteboard Wallpaper?
No, Projector Whiteboard Wallpaper is not compatible with permanent markers, similar to traditional whiteboards. To remove permanent marker stains, clean the surface with Smarter Surfaces Permanent Ink Remover.
Functionality & Performance
What is the importance of gain in projector screens?
Gain influences the luminance of the projected image and the quality of viewing angles. It influences the screen's light reflection, affecting clarity and the breadth of the viewing angle.
Does a higher gain always result in better image quality?
Not necessarily. A higher-gain projector screen does not inherently ensure superior image quality. While it can produce a brighter image from some angles, it may lead to reduced brightness when viewed from other perspectives. Additionally, higher-gain screens often have a narrower viewing angle.
How can I find out the optimal gain for my projector screen?
The standard projector screen gain is 1.0, which provides uniform brightness and accommodates multiple viewing angles. However, the optimal gain varies based on individual preferences and environmental factors. It is advisable to weigh the advantages and disadvantages of high- and low-gain screens to identify the most suitable option for your requirements.
What are the gloss levels or measurements of Projection Whiteboard Wallpaper?
For Projection Whiteboard Wallpaper has a Gloss Measurement of 41 GU at 60 degrees.
Will the projector whiteboard surface cause any reflection?
If you observe a "hotspot" on the surface, adjust the projector's angle to eliminate it. For high-performance projection, consider Smarter Surfaces projector paints.
Safety & Environmental
Is Projection Whiteboard Wallpaper safe?
Yes, Projection whiteboard wallpaper is very safe. It is environmentally friendly, as it is free from VOCs, solvents, PFOA, PFOS, and isocyanates. It also has independent certification for Fire Class A and Projection Performance Report - CREST.
Featured Blogs
Discover tips, trends, and practical ideas to improve collaborative spaces across schools, offices, and homes.


